How to set up VPN in Windows 8
Virtual Private Network (VPN) technology allows a computer which uses a public Internet connection join a private network in a secure way.
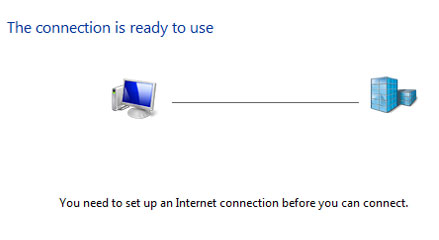
Adding VPN in Windows 8 for work/school
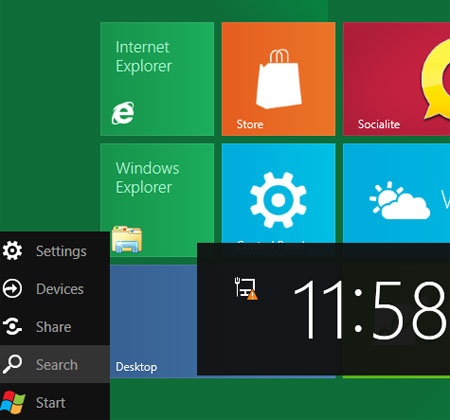
1. In your Metro Start Menu, click on the lower left corner and the Start menu pops up. Click on Search.
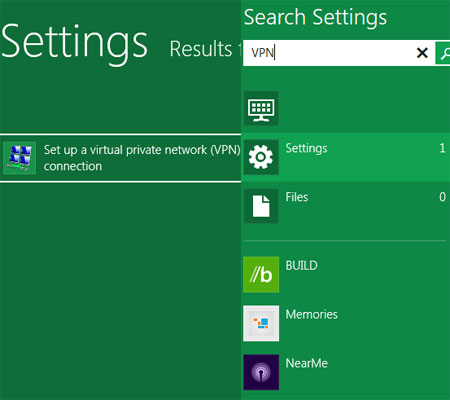
2. Next, type VPN in the Search App box. Select ‘Set up a virtual private network (VPN) connection’ on the left side. If you dont see anything on the left side then you may have to click Settings below the Search App box.
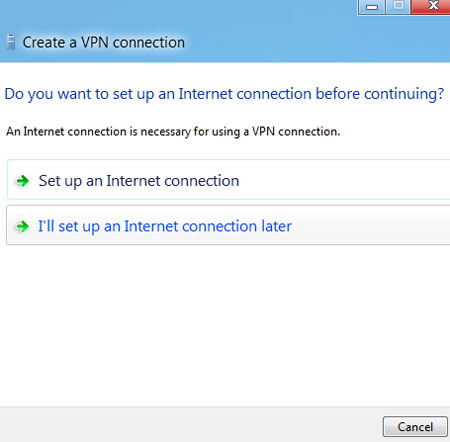
3. If you just want to set up VPN for now without Internet Connection then select I’ll set up an Internet connection later.
4. Now you have to put the internet and destination VPN name. You have to obtain these information from the VPN provider you are connecting to. Usually, the network administrator has these information.
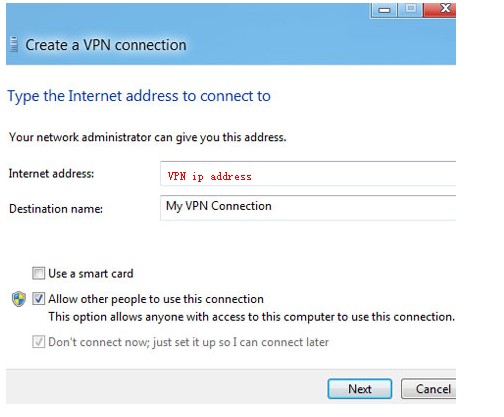
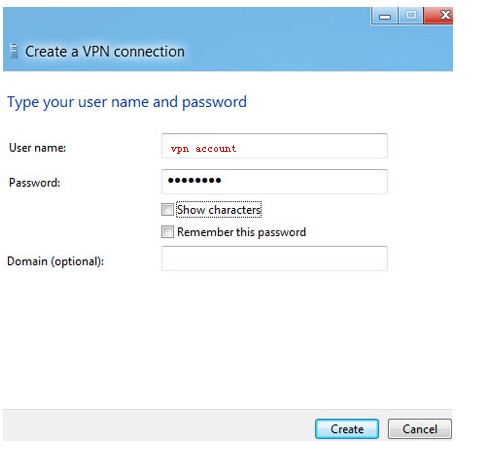
5. Enter your login credential i.e. username and password. Then click on the Create button.
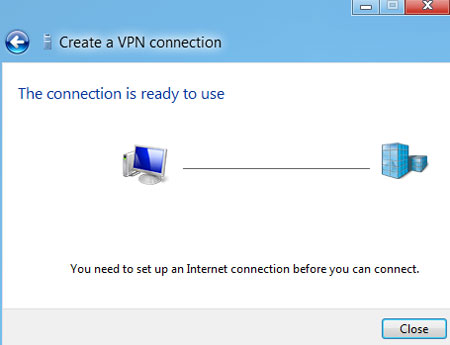
6. Finally, Click on the Close button.
What you need is a VPN account !
Before you make order, You can Trial 3 Days VPN Service
• Only $1.99
• High Speed
• All country server

|
|
|
|
$5 Package=One Account=US,AU,UK,CA,Russia,Italy,Spain,Japan,Korea,HK,India,etc.
One Year/365 days
|
|
|
Multi-VPN server package include:
|


 US
US  UK
UK 

 France


.gif) Germany
Germany 

 Ireland
 Romania


 Korea
Korea  Hong Kong
 Philippines
 Thailand
  Indonesia
 China
China  Singapore
 Mexico
  United Arab Emirates
  Turkey


 Argentina
  Chile
Chile 


